


Steps to Create a Venmo Business Account

A Venmo business account helps businesses get paid by customers more efficiently. With Venmo, businesses can add online payments to their systems easily. Whether you’re a small or big business, setting up a Venmo business account involves sharing basic business info, verifying who you are, and linking a bank account.
What is Venmo, and How Does it Work?
Understanding what Venmo is and how it works is essential when you want it to be your payment method for business payments.
With over 70 million users, Venmo is one of the most well-known P2P payment applications. In simple words, it is a peer-to-peer (P2P) service or a digital wallet that enables users to send money to each other using a mobile application. Venmo gives businesses many options and simple steps to set up, helping them manage payments better and do business smoothly.
Read Also: OpenInvoice- The Best Invoicing Solution for Businesses
Steps to Create a Venmo Business Account
Below are some basic steps you need to follow to create a Venmo business account:
1- Visit the Venmo Website
To get to Venmo’s website, type “venmo.com” into your internet browser or “Venmo” into Google Chrome and tap the official website link.
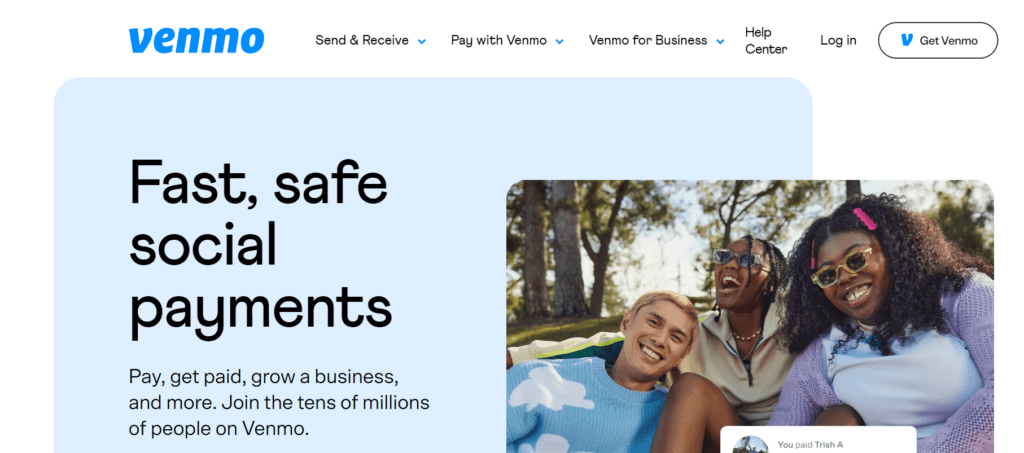
When you arrive at the homepage, you will see a straightforward layout that lets you quickly make a new account or log in if you already have one.
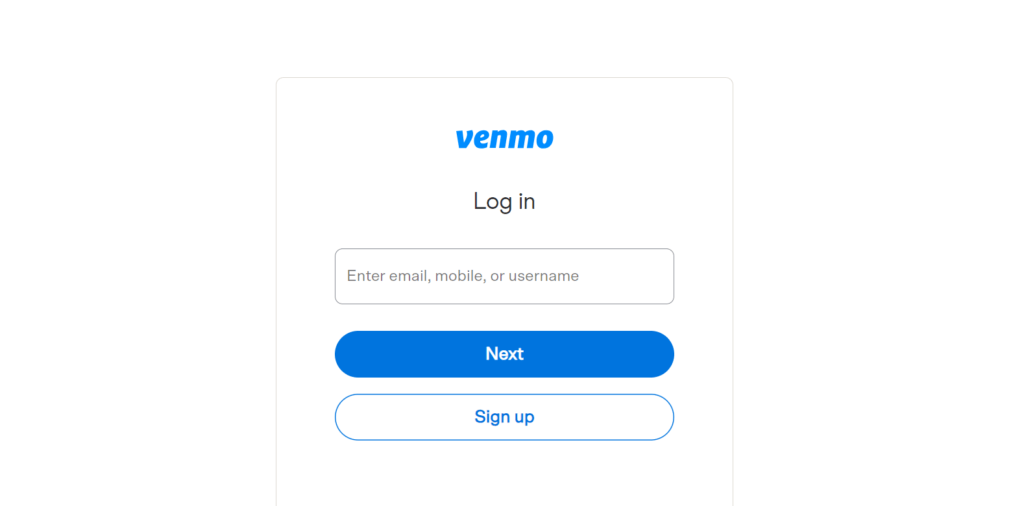
After clicking on the sign up button, you will need to choose ‘Business’ option as you are creating a Venmo account for business.
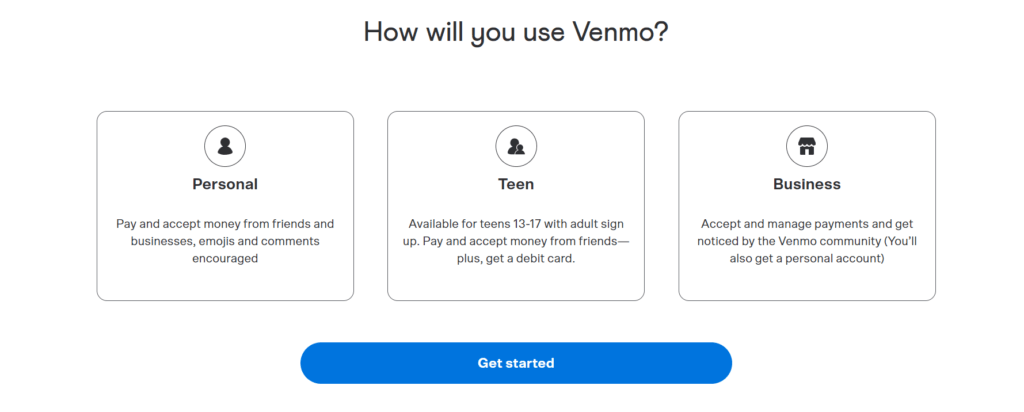
2- Provide Business Information
After clicking on the ‘Get Started’ button, you need to provide your phone number for verification purposes.
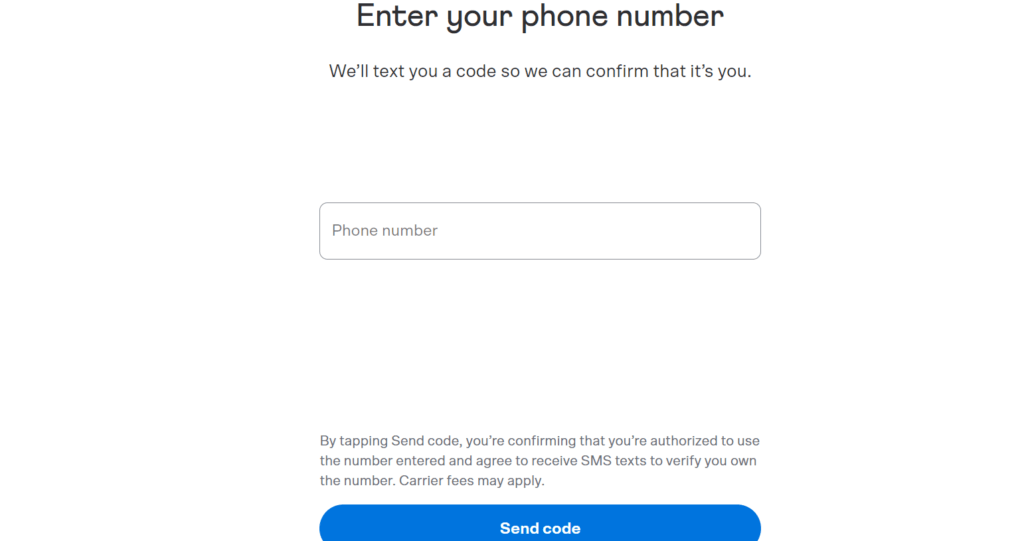
Once verified, you will see a form for entering your business name and other details to complete the sign up process.
When adding business details, enter accurate information like your name, location, phone number, and email address.
3- Verify Your Business
Verifying your business means making sure it is legal. It usually means showing documents or proof that your business is legitimate. You should share your business license or tax ID number. Verifying your business is crucial because it helps people trust you more, like your customers and banks. It shows that you’re running your business correctly and following the rules.
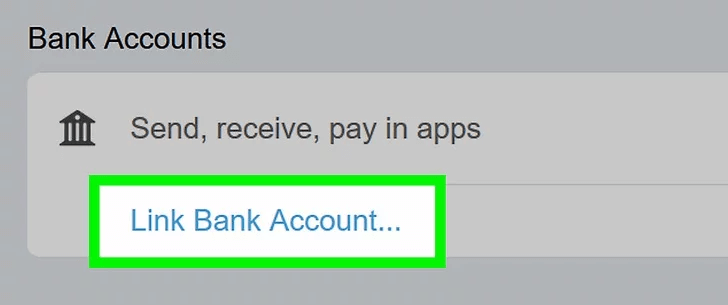
4- Connect a Bank Account
Linking your business’s bank account to Venmo means connecting them. This lets you get money from customers through Venmo and then move it to your bank. To connect your bank account, you’ll share its routing and account numbers. Venmo might request more information to ensure your account stays safe and sound. Once your bank account is attached, you can quickly move money between Venmo and your bank. This helps you keep track of your money and use it whenever needed. Connecting your bank account is essential for your Venmo Business Account to work well and make getting paid easier.
5- Set Up Payment Options
Deciding how customers can pay you through Venmo is setting up payment options. You have a couple of choices. First, customers can pay you directly from their Venmo balance or linked bank account, which is the standard way. Second, you can let customers pay with Venmo on your website or app. To set this up, you must change your Venmo Business Account settings and add Venmo’s payment characteristics to your website or app. Having different payment options can make it simpler for customers to pay you, which might help you sell more stuff.
Read Also: 10 Great Business Ideas Anyone Can Start
6- Customise Your Account
Customising your account is about making it look and work the way you want for your business. You can add a picture, tell people what your business is about, and add other information showing your brand. It helps customers know it’s your business and feel comfortable using it. You can also change settings like privacy and notifications to fit how you use Venmo. Doing these things makes your account feel more like you and helps customers trust you. It’s like making your business space look friendly and welcoming. Customising your account can make it unique and attract customers to your Venmo Business Account.
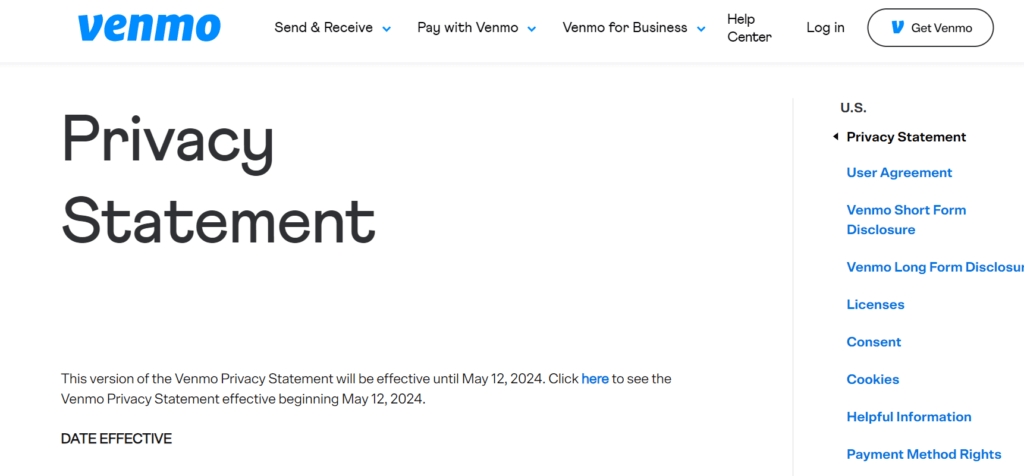
7- Review Venmo Policies
Reviewing Venmo’s policies means taking a look at their rules. It includes their fees, what you can do on Venmo, and how they solve problems. Understanding these rules is essential to know what’s happening when using Venmo for your business. Look at how much they charge for transactions, what you’re not allowed to do, and how they handle complaints. This helps you follow Venmo’s rules and keeps your business going smoothly. Checking Venmo’s policies can help keep your account safe.
8- Start Accepting Payments
Begin to receive money, which means you are ready for clients to give you money. There are different sources you can do this. For example, if you meet customers face-to-face, you can suggest they pay you through Venmo instead of using cash. Please give them your Venmo username or a QR code they can scan. Second, if you sell things online, you can add Venmo as a payment on your website or app. This lets customers pick Venmo when they check out. Once everything is set up, you can get payments from clients quickly and without any problem. Using Venmo for payments can make things simple for you and your clients, which can help your business increase.
Read Also: What is Zendesk? An Ultimate Guide
Conclusion
Using Venmo for your business makes handling payments easy and safe. It helps your business run smoothly and keeps your customers happy. Follow the simple steps we discussed: sign up for a Venmo Business Account, prove your business is legit, and make your profile look like your brand. Then, you can choose how customers can pay you and understand Venmo’s rules. Once everything’s set up, you can start receiving payments online. Using Venmo helps your business grow and succeed in today’s digital world.